Over the last couple of months the items for working our craft pieces:
beads and thread - Wal-Mart, Jo-Ann's and Hobby Lobby
stain, hardware, glazing points - Home Depot
lumber - pieces we already had
blue jeans - local thrift store
velcro, trim, yarn - Jo-Ann's
picture frames, glass out of picture frames - the Dollar store
hot glue and glue - Hobby Lobby
caffeine - tea and coffee from Wal-Mart and Krogers
patterns for beadwork projects: I am very grateful to the website: http://patternsforyou.com/
tools used: jigsaw, circular saw, Dremel, drill, hammer, screwdriver, wood burner and sander
Featured Post
"You LIKE this?" Alice Cooper - Sick Things (TheSnoop Sisters) (1974) (HQ)
Do you remember the Snoop Sisters, Mom? I bet you'd remember THIS episode! I've been searching for a good quality clip of this...

Sunday, December 25, 2011
From my Sister
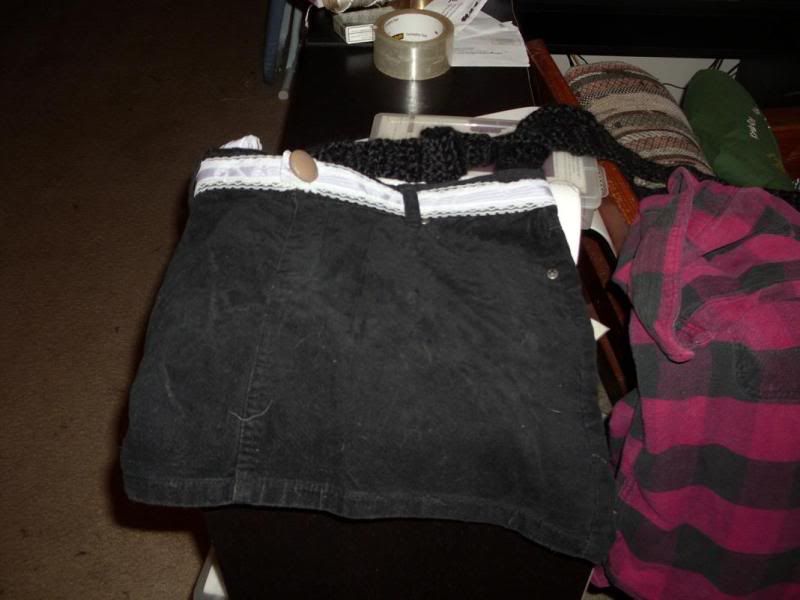
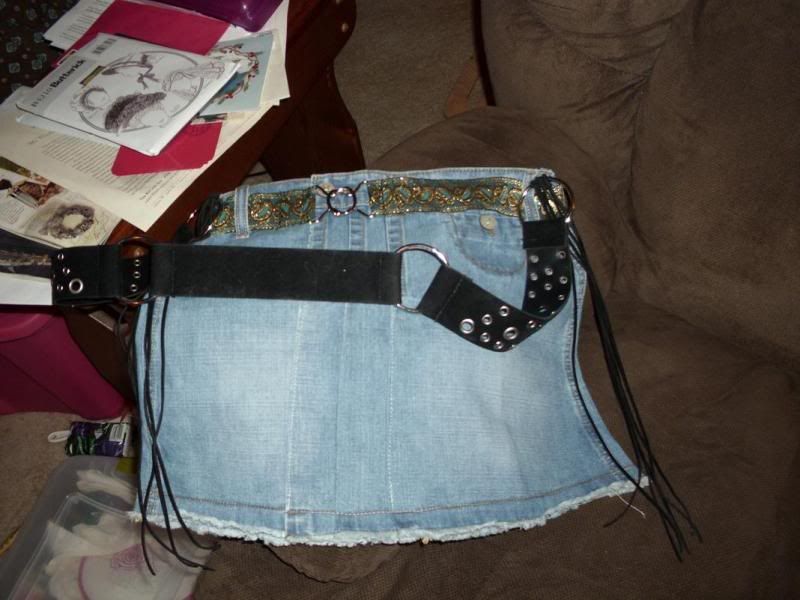
We all seem to be very crafty around here! For our Hanukkah and Yule giftings, my sister made us purses/bags out of blue jeans she got at the thrift store.
For my Bestest Friend ever - Steph
For my literary teacher, friend, muse and link to sanity inside insanity - Steph
This is a beadwork piece done on a loom. The beads were irregular, giving it a natural, more organic look. The quote I found on the internet with a search for quotes on writing. It fits both of us and I thought it was perfect for her.
This is a beadwork piece done on a loom. The beads were irregular, giving it a natural, more organic look. The quote I found on the internet with a search for quotes on writing. It fits both of us and I thought it was perfect for her.
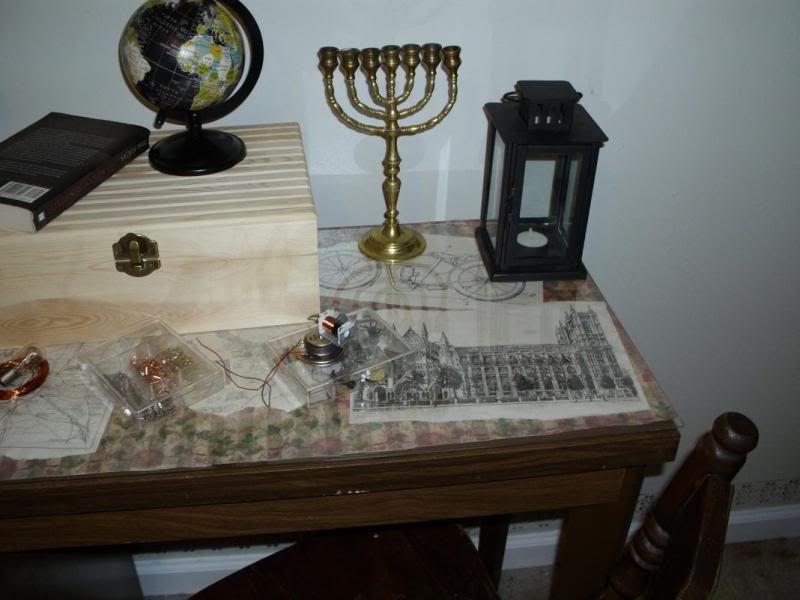
Curiosity Table
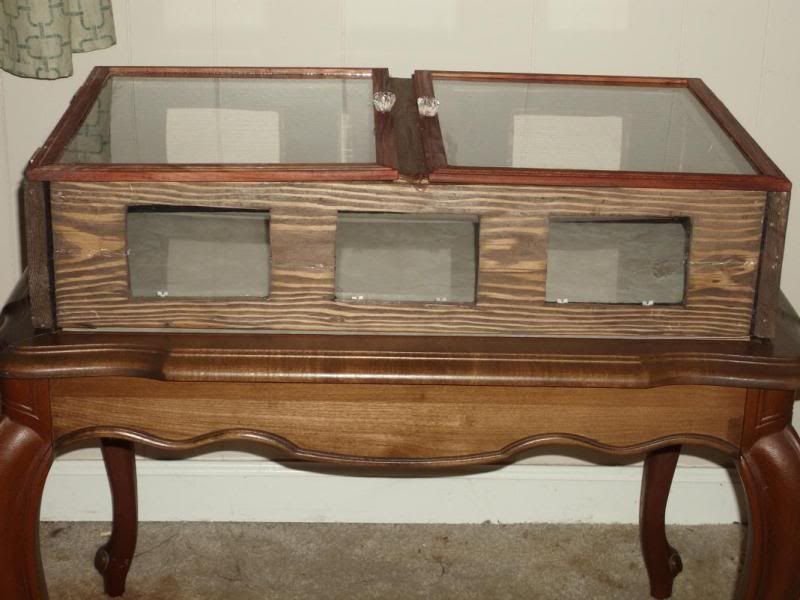
Mom has been envious of my curiosity table since I got it. So the idea was to make one (since they cost $1,200 on-line (WTH?!)
We found a Queen Anne style end table with marble top at the Habitat for Humanity Restore.
That was step one. Next step was putting together the items for the display case on top. Boards from shelves, picture frames for the top, glass out of frames for the sides, hardware, stain and then a lot of figuring, measuring, and a LOT work with a Dremel, saw, sander, screwdriver, hammer, glue and some swearing (okay, a lot)
to work the display "windows" - we measured on the front and back pieces of wood. We then cut the holes. Next step was now working the dremel and widening the panels on the back so there is a lip to hold the glass panes in.
Next was staining the pieces and putting them together. For the glass top we used picture frames, cutting out part of the cardboard backing and attaching those to the box with hinges and drilling holes for the glass pulls with a cross piece for the glass doors to rest on.
Ta da
I think we blew Mom away and it was worth breathing in all the sawdust
To our hero - Bos
Now I can post the gifting I did for one of our bestest friends - Bos. Store bought piece of wood and I did the wood burned EGA
Sunday, December 18, 2011
Alice Cooper Rules
Not house related but fun! My sister and I hit Atlanta this last week for the Alice Cooper concert and had a blast!
His lead guitarist Orianthi is awesome! Man, can she play!
His lead guitarist Orianthi is awesome! Man, can she play!
Hanukkah Menorah - Necessity is the.........
I'm not sure what box contains my Hanukkah menorahs and might not be able to find one before Tuesday night. And no funds to get one from one of the shops in Atlanta.
So..... necessity being the mother of invention, so they say:
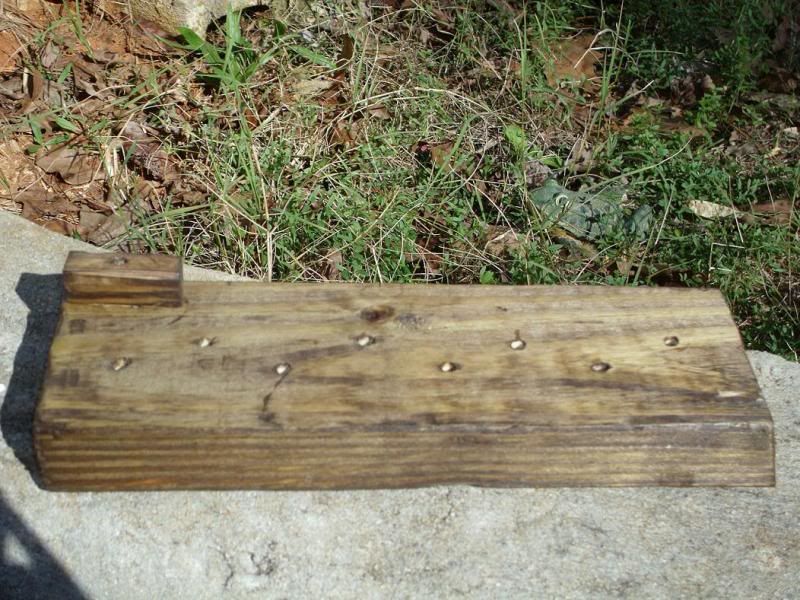
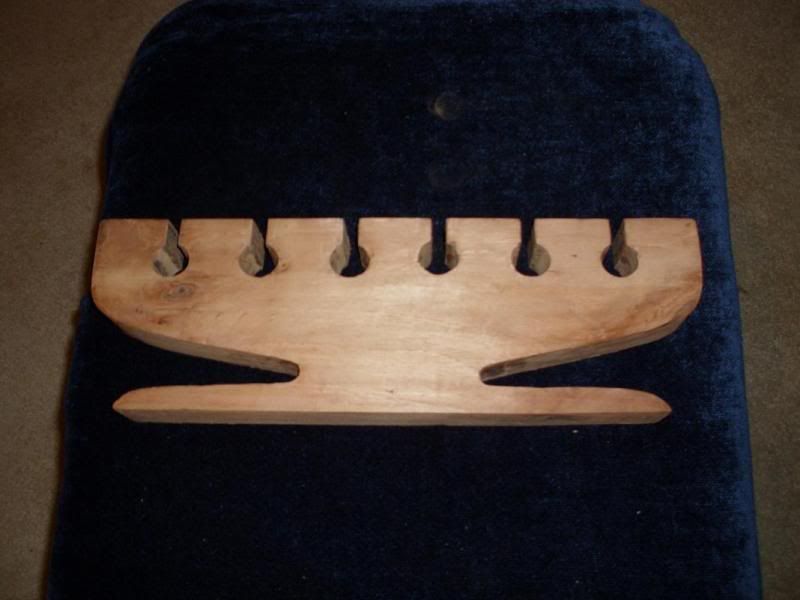
one larger block of scrap wood, small block of scrap wood.
Add wood glue
drill holes the size of the inexpensive candles from Wal-Mart
add stain that was sitting around the house
Ta da - one goofy, lame Hanukkah menorah but one that will work and we already have the potatoes for the latkes.
Sunday, December 4, 2011
Saturday, December 3, 2011
Tuesday, November 29, 2011
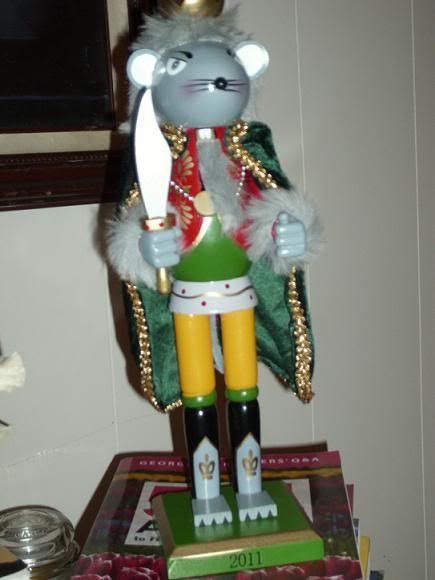
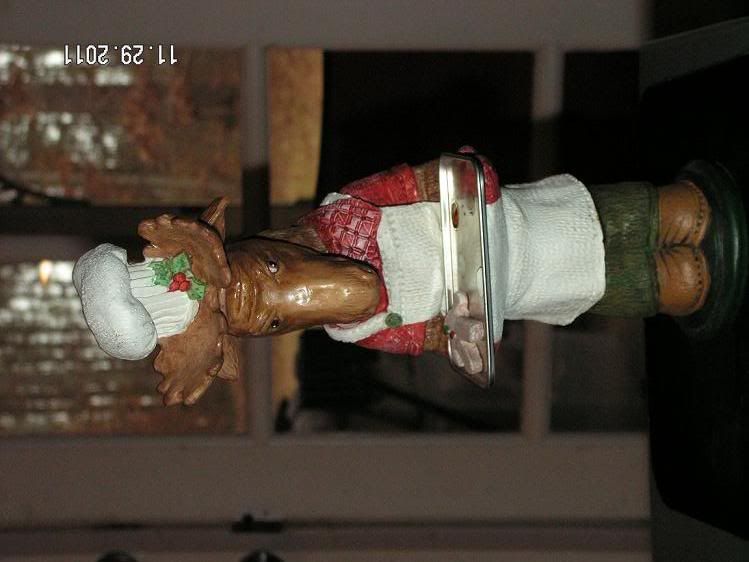
and for something completely quirky
I'm not sure why my sister has this thing in Yule stuff
and why didn't Photobucket save the UPRIGHT version?
This thing has a small incense bowl inside. Light the incense and the nose blows smoke
and why didn't Photobucket save the UPRIGHT version?
This thing has a small incense bowl inside. Light the incense and the nose blows smoke
Sunday, November 27, 2011
Daily Grind and snow?
The last few days have been a flurry of general cleaning before cold weather really hits. We learned on the news today that we might actually have snow tomorrow night. It won't hold (rarely sticks for long here, we hear). I need to get the leaves out of the drive way (which slopes) but I can't today, I overdid the cleaning yesterday and my back kept me up until 3am.
Argh
Argh
Wooden Menorah - 5th step
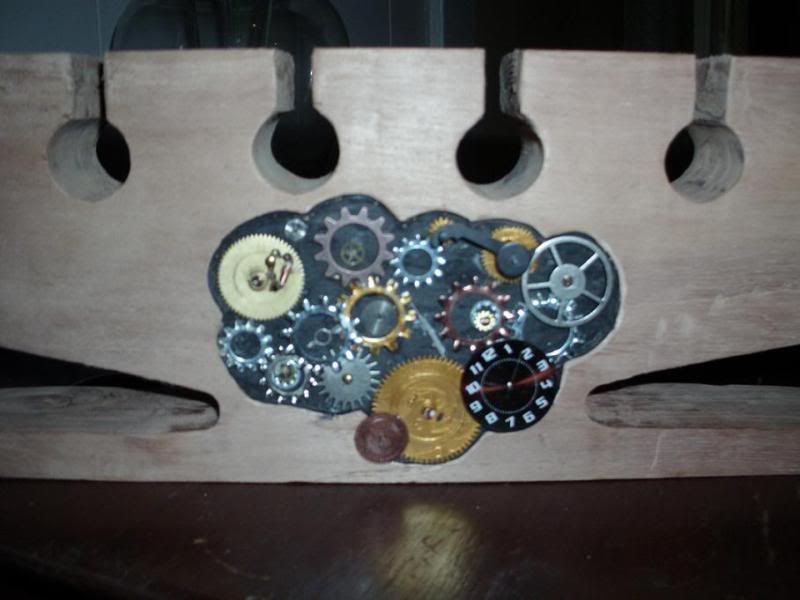
I've sanded the menorah and added some very small pieces to the art piece in the center.
Next and final step will be varnish.
Next and final step will be varnish.
Wednesday, November 23, 2011
HAPPY THANKSGIVING
To family, friends and future friends: Thank you for being part of our lives, we love you!
May your Thanksgiving be filled with warmth, love, and no stress
May your Thanksgiving be filled with warmth, love, and no stress
Friday, November 18, 2011
Wooden Menorah - 4th Step
It was actually Mom's idea to go with the SP idea on this one.
Next step - sanding and varnish
Then there's one more step but that may be awhile before the actual design hits me.
Thursday, November 17, 2011
Wooden Menorah - 3rd Step
In the process of using the Dremel and a chisel to get the "Kwanzaa and outline of Africa" out.
Next will be some sanding
Then working the design I have in mind into the inlay
Then varnish
Wednesday, November 16, 2011
Wooden Menorah - 2nd step
Sanded off the left over dark brown paint. Next I'll work to change the word Kwanzaa and the outline of Africa.
Tuesday, November 15, 2011
Wooden Menorah in Progress
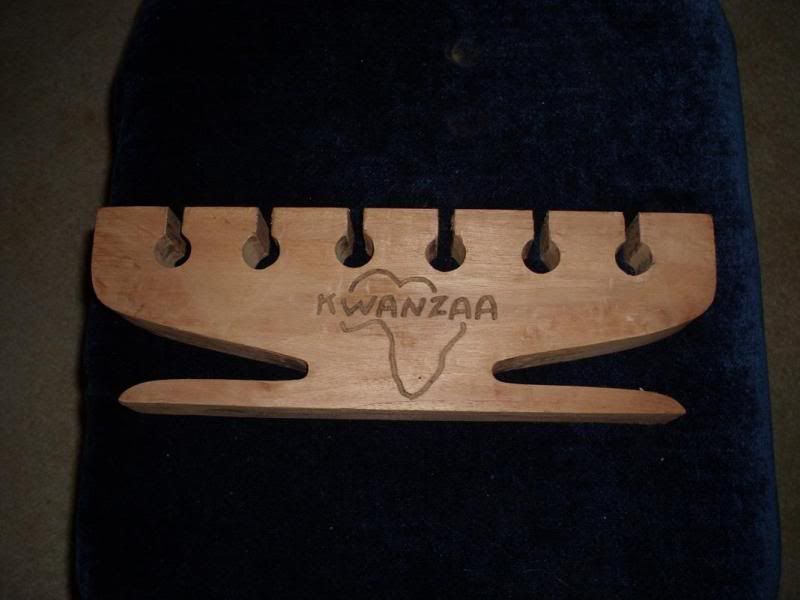
I bought a menorah (not a Hanukkah menorah, a regular 7 stand menorah) at a local thrift store for $3.00 I'm not sure how it connected to Kwanza but I'm going to bring it back to a Jewish menorah.
Right now, it's a work in progress.
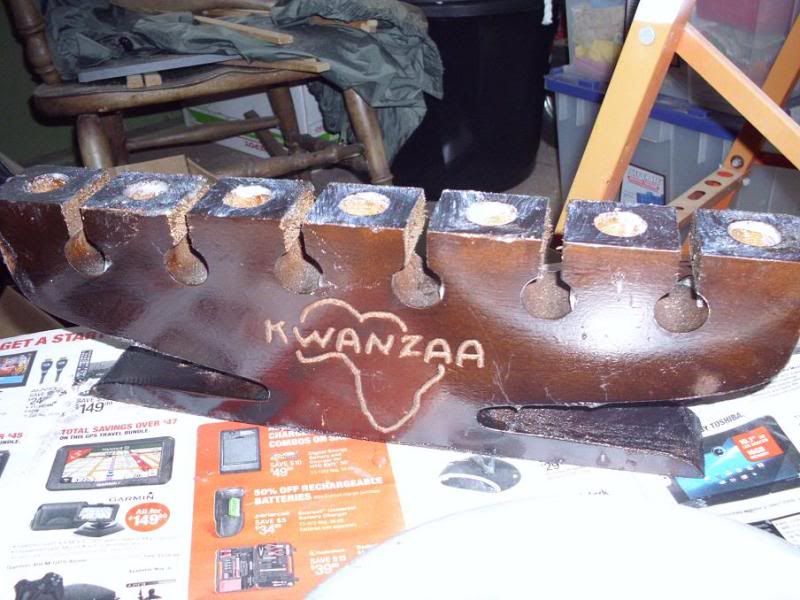
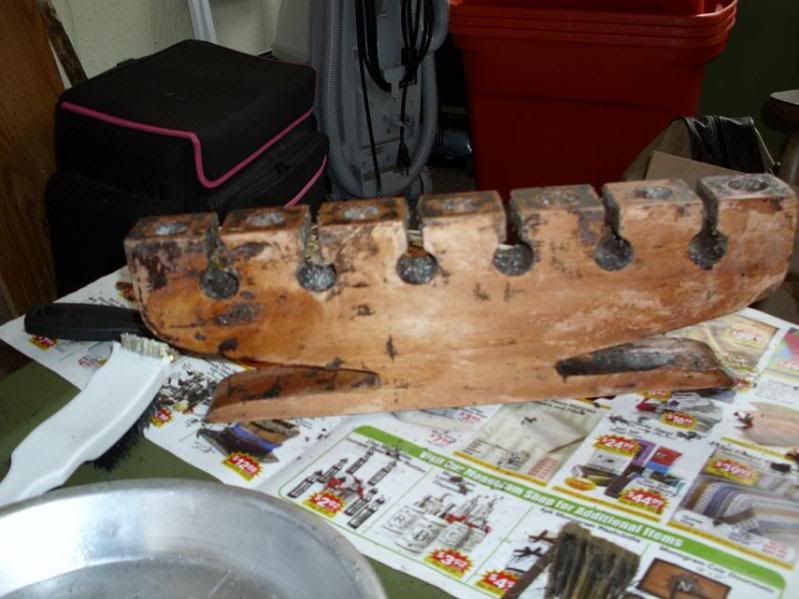
Step 1: remove the dark paint
I used Jaxco paint remover and it took 4 coats of the stuff to get down to the interesting red wood underneath. Next I'll sand the remaining dark brown paint off and then Dremel, sand out the Kwanza/outline of Africa.
I have a plan for the space that will be carved out when that is gone but I'll wait to post what that is. :)
Subscribe to:
Comments (Atom)
